Cracked glass isn’t just ugly—it’s a money trap, and most iPhone screen repair tips skip the pitfalls that quietly wreck your phone and budget.
Fix it right the first time, and you avoid paying twice.
Key Points to Master iPhone Screen Repair Tips
-
Power off device and disconnect battery to prevent shorts and accidental inputs.
-
Use quality replacement screens and certified adhesive strips to avoid flicker, dead pixels, and voided warranty.
-
Carefully align flex cables and display assembly to ensure flush seating, proper touch response, and True Tone accuracy.
-
Maintain water resistance by replacing seals and applying even pressure around the frame during reassembly.
-
Perform final tests for touch sensitivity, brightness, proximity sensor, and True Tone before completing your repair.
How To Clean Under-Display Dust Safely
If you’re hunting for solid iPhone screen repair tips, dust trapped under the glass can be one of the most annoying issues. It messes with clarity and touch response. Below is a safe, repair-focused breakdown that blends pro habits with real-world practicality, just like you’d expect from PhoneInsigh.
Power Off Device and Disconnect Battery Before Cleaning
Before any repair, slow down and lock things in safely. Good iPhone screen repair tips always begin with proper shutdown protocol.
-
power off the device completely
-
disconnect the battery connector
-
prep a grounded workspace for safe cleaning
Now follow this structured prep flow:
-
Device Shutdown
1.1 Hold power button → slide to shut down
1.2 Wait 30 seconds to discharge residual current
-
Internal Safety Isolation
2.1 Remove pentalobe screws
2.2 Lift display slightly
2.3 disconnect battery flex before touching display cables
-
Static Prevention
3.1 Use anti-static mat
3.2 Wear grounding strap
Here’s a quick reference table used in many repair benches:
| Action Step | Risk Level if Skipped | Repair Impact |
|---|---|---|
| Power Off | High | Short circuit |
| Disconnect Battery | Very High | Logic board damage |
| Grounding | Medium | Static shock to IC |
| Tool Check | Low | Cosmetic scratches |
Skipping shutdown isn’t bold. It’s risky. Smart iPhone screen repair tips always treat electricity with respect.
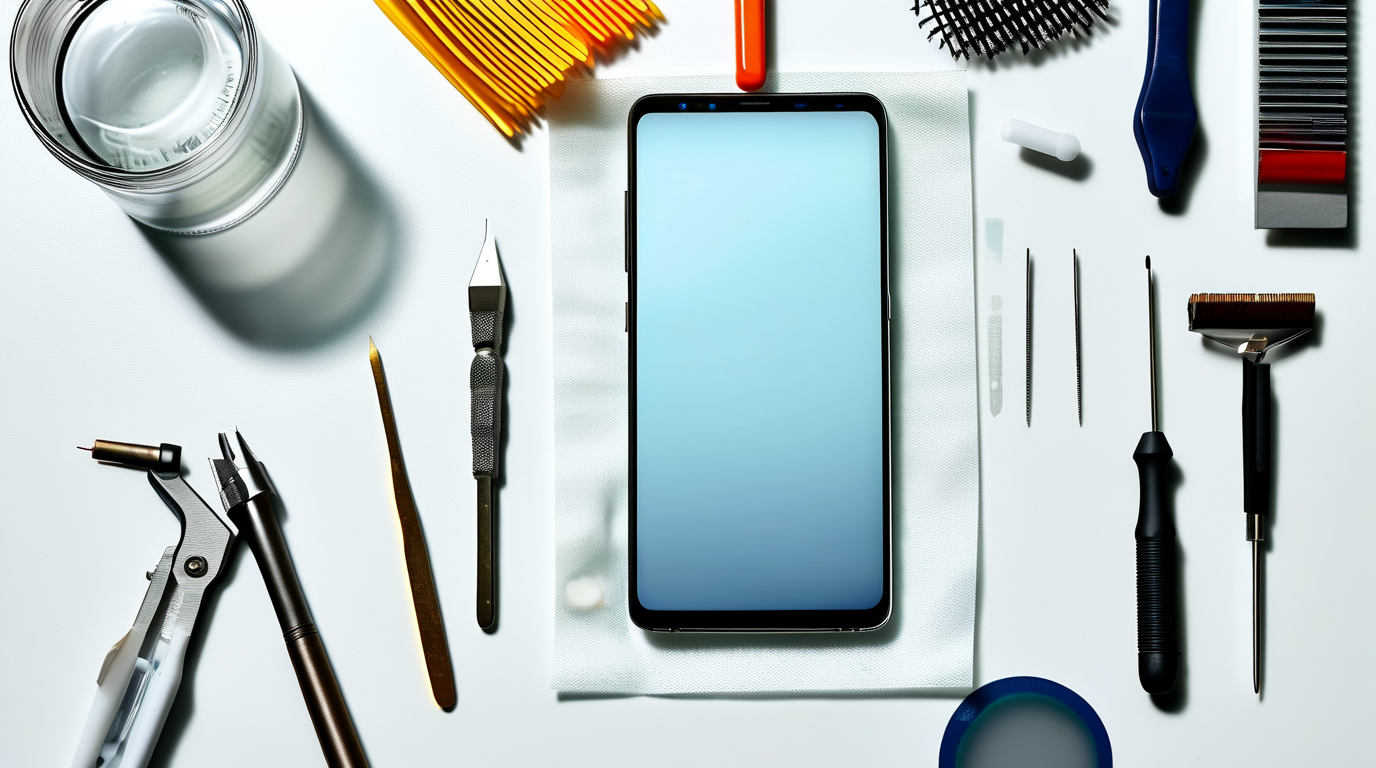
Using a Suction Cup and Pry Tool to Access the LCD Screen
To safely access the LCD screen, patience beats force every time.
Core tools:
-
suction cup
-
thin pry tool
-
opening picks
Follow this nested workflow:
-
Create Initial Gap
1.1 Attach suction cup near bottom edge
1.2 Apply steady upward pressure
1.3 Insert pick once gap appears
-
Adhesive Separation
2.1 Slide pick along frame edge
2.2 Avoid deep insertion near flex cables
2.3 Keep tension light to protect the display
-
Safe Opening Angle
3.1 Open from left side like a book
3.2 Support screen at 90°
3.3 Do not strain connectors
Quick tip:
• If resistance feels uneven, stop and reheat adhesive lightly.
Good iPhone screen repair habits aren’t about speed. They’re about control. PhoneInsigh often reminds users that rushing is how cracked glass turns into broken flex cables.
Gently Remove Dust Under the Digitizer with Tweezers
Now comes the delicate part—removing dust beneath the digitizer without harming the display.
Use fine-tip tweezers and keep movements minimal.
Multi-step precision routine:
-
Inspect Under Bright Light
1.1 Tilt screen to identify trapped debris
1.2 Confirm particles are above LCD layer
-
Controlled Lift
2.1 Lightly grip visible dust
2.2 Lift vertically—no dragging
2.3 Avoid contact with polarizer film
-
Final Cleaning Pass
3.1 Use air blower (not canned at close range)
3.2 Check corners of the screen
3.3 Re-seat display connectors carefully
Tiny speck. Big frustration.
Steady hands fix that.
For anyone searching “iPhone screen repair tips” because their display looks hazy, this micro-cleaning method protects touch sensitivity and color accuracy. Keep it clean, keep it slow, and your repair will actually last.
Poor Mounting Can Cause Alignment Problems
Getting alignment right isn’t just about looks—it affects touch flow, color balance, and long-term durability. Many people searching for iPhone screen repair tips focus on parts, but mounting mistakes quietly cause most callbacks. If you’re serious about clean iPhone screen repair, this breakdown keeps your screen sitting tight in the frame.
Common Mounting Mistakes That Cause Alignment Issues
A sloppy mounting job can throw off your entire screen fit. Here’s where things usually go sideways during iPhone screen repair tips in real life:
-
Uneven pressure while pressing the display into the frame
-
Misaligned adhesive strips bunching near edges
-
Over‑tightened or loose screws shifting alignment
Dig a bit deeper:
-
Adhesive Problems
-
Old adhesive residue not fully removed
-
New strips stretched before placement
-
Corners left uncovered, causing tiny gaps
-
-
Frame & Screw Issues
-
Bent frame rails
-
Missing internal mounting brackets
-
Mixed-up screws creating tilt
-
-
Pressure Errors
-
Pressing center first instead of evenly around
-
Snapping one side before checking full alignment
-
Small mistake. Big headache. Light bleed. Ghost touch. Annoying.
PhoneInsigh often reminds repair techs that solid prep prevents many avoidable misalignment complaints. Smart iPhone screen repair tips always start with patience.
Aligning Flex Cable and Display Assembly with Precision
Clean cable work makes or breaks smooth iPhone screen repair.
Core checkpoints:
-
Inspect each flex cable for creases
-
Match connectors carefully before pressing
-
Confirm display assembly sits flat
Follow this flow:
-
Connector Setup
-
Line up connectors directly over ports
-
Press straight down—no sliding
-
Listen for a soft click
-
-
Internal Positioning
-
Tuck cables under correct brackets
-
Secure side clips
-
Check even seating inside the frame
-
-
Final Fit
-
Lower top edge first
-
Apply balanced pressure
-
Recheck full alignment
-
Rushing this stage strains cables and kills longevity. PhoneInsigh training notes show precision here reduces repeat iPhone screen repair tips searches dramatically.
Testing Touch Responsiveness and True Tone Sensor Accuracy
Once sealed, testing is non‑negotiable.
Quick checks for solid functionality:
-
Full-grid touch responsiveness sweep
-
Brightness shift under changing ambient light
-
Stable true tone sensor reaction
Break it down:
-
Touch Grid Test
-
Drag across every corner of the display
-
Look for dead zones
-
Confirm smooth input
-
-
Sensor & Calibration
-
Compare color warmth before/after
-
Validate calibration settings
-
Ensure accuracy under bright light
-
-
Real-World Trial
-
Scroll fast
-
Type rapidly
-
Rotate device to confirm stable alignment
-
Good iPhone screen repair tips always end with testing. A perfect fit means no lift, no flicker, no weird tint—just clean performance that feels factory fresh.
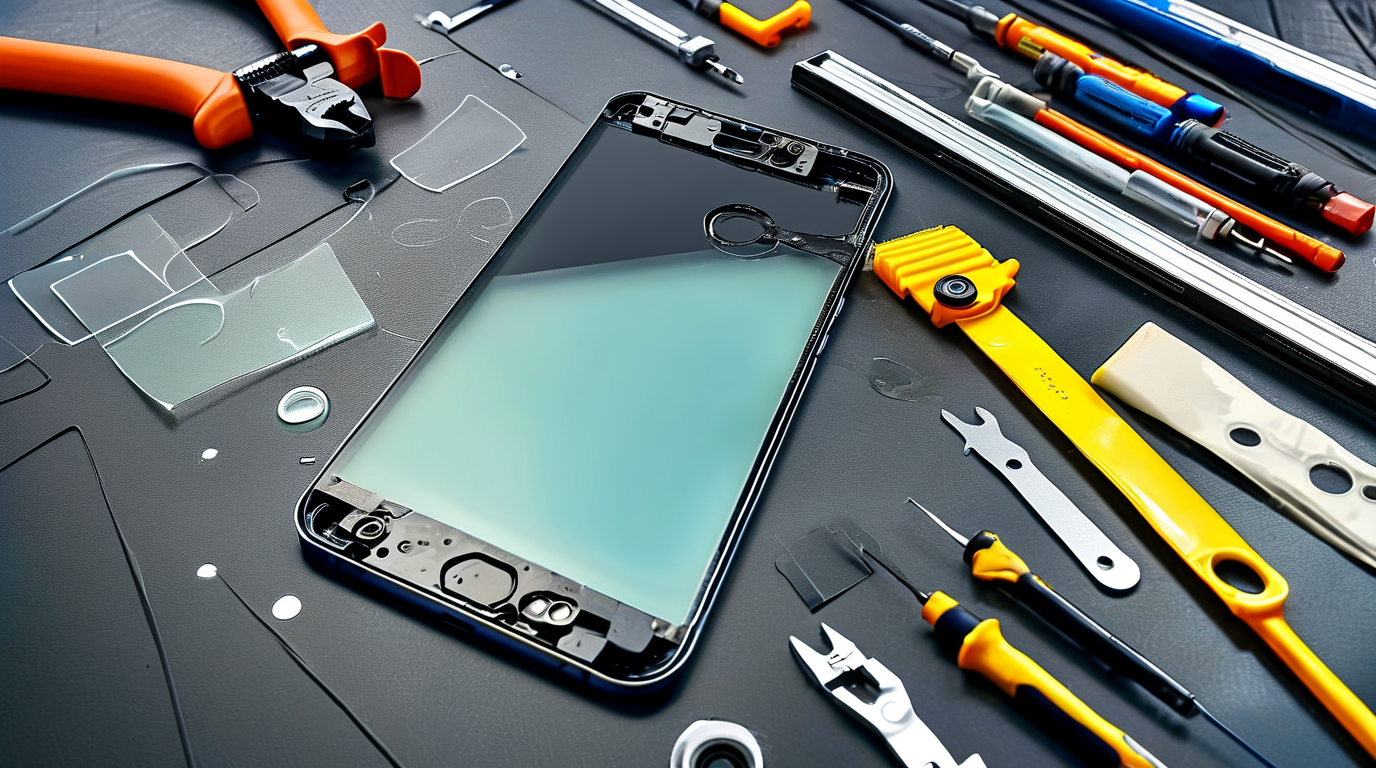
The Hidden Cost Of Substandard Replacement Screens
When people search for iPhone screen repair tips, the goal is simple: fix it fast and save money. But cutting corners on a cheap display can quietly wreck your phone’s functionality and visual quality. Let’s break down what really happens behind that tempting low price tag.
How Cheap Screens Compromise Functionality and Visual Quality
Poor replacement panels don’t just look “a bit off.” The damage runs deeper into display performance and daily usability.
-
Surface-level issues:
-
Dull whites and oversaturated reds hurt color accuracy
-
Weak backlights reduce brightness
-
Lower pixel density drops true resolution
-
-
Interaction problems:
-
Laggy swipes reduce touch responsiveness
-
Dead zones affect texting and gaming
-
Random ghost touches interrupt calls
-
-
Internal mismatches:
-
Incompatible display drivers
-
Poor calibration
-
Weak adhesive affecting sensor alignment
-
When reviewing iPhone screen repair tips, pay attention to screen specs, not just price. Real iPhone repair tips stress checking panel grade, brightness rating (nits), and refresh stability. Cheap parts often skip factory calibration, meaning your screen repair tips might solve cracks but sacrifice long-term display performance.
Warranty Void Risks with Unbranded Display Assemblies
Unbranded display assemblies may look identical, but they can quietly cancel your device warranty.
-
Manufacturer policy:
Many brands scan internal components during service checks. Non-certified unbranded parts trigger red flags.
-
Service agreement violations:
-
Unauthorized repairs
-
Non-original flex cables
-
Missing serial pairing
-
-
Repair risks that follow:
-
Refused claims
-
Higher out-of-pocket repair costs
-
Limited future support
-
In 2025, the International Data Corporation (IDC) noted:
That’s why serious iPhone screen repair tips always mention verifying part origin. A cheap iPhone screen repair today can quietly void tomorrow’s warranty claim.
PhoneInsigh recommends checking for certified supplier documentation before any phone screen repair tips are followed.
Long-Term Expenses from Early Flickering and Dead Pixels
Short-term savings often become long-term expenses.
Early-stage problems include flickering, minor dead pixels, and subtle display defects. Over months, those issues evolve into full screen degradation, cutting into overall device lifespan.
Notice how rising flickering and dead pixels push cumulative repair costs higher.
Smart iPhone screen repair tips focus on lifespan, not just installation. Good screen repair tips mean asking about panel grade, warranty backing, and defect rate history. That’s the difference between a one-time fix and a cycle of repeat replacements.
When you search for iPhone screen repair tips next time, think beyond the crack. Your future wallet will thank you.
5 Steps To Secure Your Replacement Screen
Cracked glass is stressful, but locking in a new display doesn’t have to feel like rocket science. These iPhone screen repair tips break down what really matters during reassembly. If you’ve been hunting for practical iPhone screen repair advice, this guide keeps it real and hands-on.
Preparing Adhesive Strips to Secure the Display Assembly
Proper adhesive strips prep keeps your display assembly from lifting later. Skipping this part is why some DIY iPhone screen repair jobs fail.
-
Clean the frame for solid frame adhesion
-
Use fresh bonding material, never reused glue
-
Press evenly for strong securing
For tighter control, follow this structure:
-
Surface Prep
-
Remove dust around the frame
-
Wipe with isopropyl alcohol
-
-
Adhesive Placement
-
Align adhesive strips along edges
-
Avoid overlap near sensors
-
-
Final Press
-
Apply steady pressure
-
Check full preparation coverage
-
These iPhone screen repair tips keep your phone snug and solid.
Aligning the Flex Cable during Installation
The flex cable is fragile. One bad bend, and your iPhone screen repair turns into round two.
-
Inspect connection points
-
Seat the connector straight
-
Confirm proper alignment of the ribbon cable
Key checks:
-
Cable Position
-
Ensure proper seating
-
No pin misalignment
-
-
Connection Test
-
Lightly press connector
-
Confirm click-in feel
-
Reliable iPhone display repair tips always stress careful cable handling.
Preventing Water Resistance Loss in the Front Panel
Water resistance isn’t magic; it depends on a clean seal and tight gasket.
-
Replace worn sealing adhesive
-
Inspect front panel edges
-
Maintain full ingress prevention
Focus areas:
-
Seal Integrity
-
No gaps
-
Even pressure
-
-
Protection Check
-
Inspect corners
-
Verify uniform water resistance
-
Good screen repair tips for iPhone users always protect against moisture.
Ensuring Proper Housing Closure around the LCD Screen
A secure housing fit protects the LCD screen and internal parts.
-
Frame Alignment
-
Match edges to bezel
-
Confirm panel seating
-
-
Pressure Application
-
Press along corners
-
Check for a secure fit
-
PhoneInsigh recommends slow, even closure to avoid stress cracks.
Final Testing of Screen Functionality and Proximity Sensor
Before calling it done, test everything.
-
Check touch response
-
Run a display test
-
Verify proximity sensor behavior
Detailed check:
-
Screen Diagnostics
-
Brightness consistency
-
Dead pixel scan
-
-
Sensor Review
-
Call test for sensor calibration
-
Final testing sweep
-
PhoneInsigh shares iPhone screen repair tips like these because small checks prevent big headaches. Follow these iPhone screen repair tips closely, and your iPhone screen repair feels less risky and way more pro.
When To Stop DIY And See A Pro
Trying out iPhone screen repair tips at home can feel smart and budget-friendly. Still, some warning signs scream “put the tools down.” Knowing when an iPhone screen repair shifts from simple fix to serious risk protects your phone—and your wallet. Here’s how to spot that line before things get messy.
Complex Digitizer Issues: Recognizing When to Avoid DIY
When the digitizer acts up, it’s rarely just surface-level damage. Watch for layered symptoms:
-
Surface behavior
-
Poor touch sensitivity
-
Random ghost touches
-
Fully unresponsive screen
-
-
Internal warning signs
-
Failed calibration after reset
-
Ongoing display malfunction
-
Possible strain on internal components
-
If your iPhone reacts on its own or ignores taps even after applying common iPhone screen repair tips, that’s deeper than cracked glass.
-
Restart and test basic touch zones.
-
Check for iOS updates.
-
Disconnect and reconnect display (advanced users only).
-
If failure continues, stop.
Persistent faults often mean the screen’s data signals aren’t reaching the board correctly. That’s where professional diagnostic gear matters. PhoneInsigh often highlights that digitizer repairs require precise heat control and connector alignment—tiny mistakes can fry the panel.
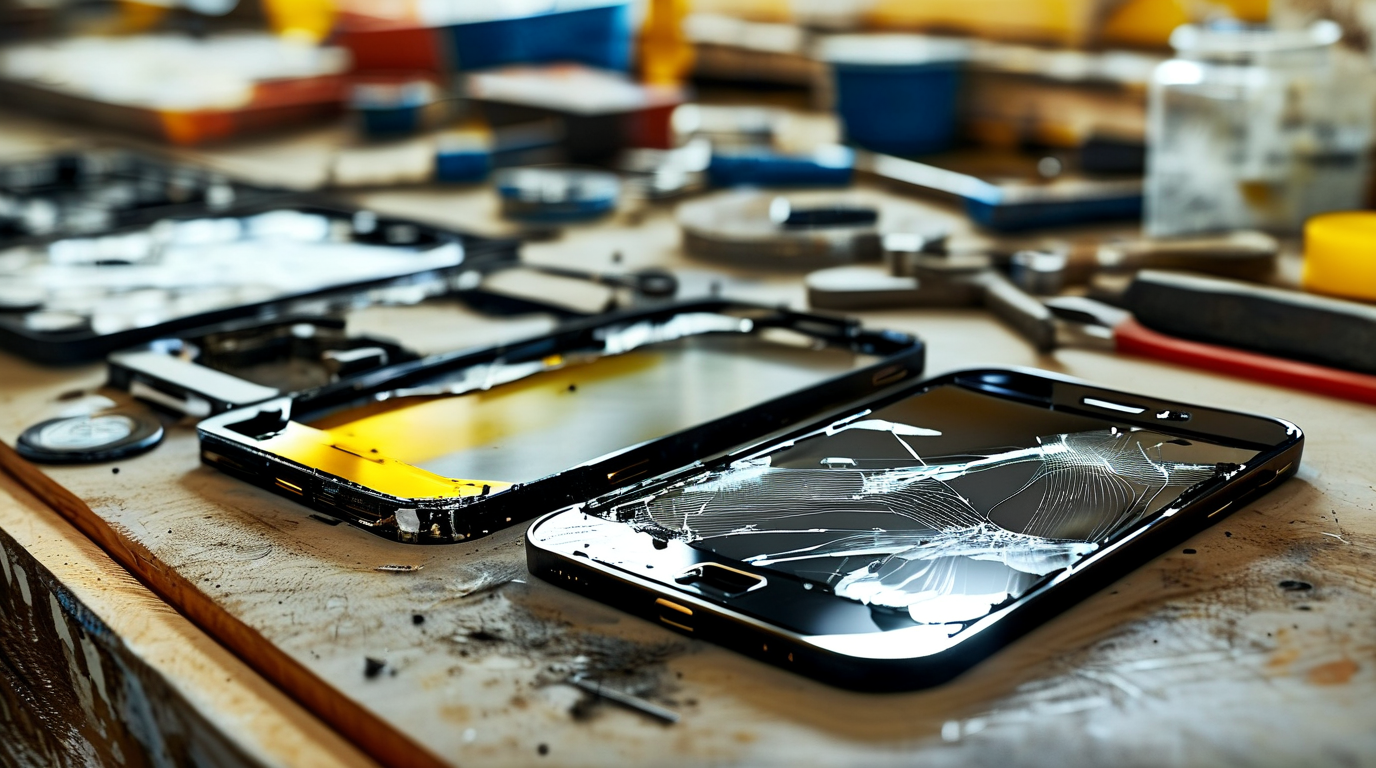
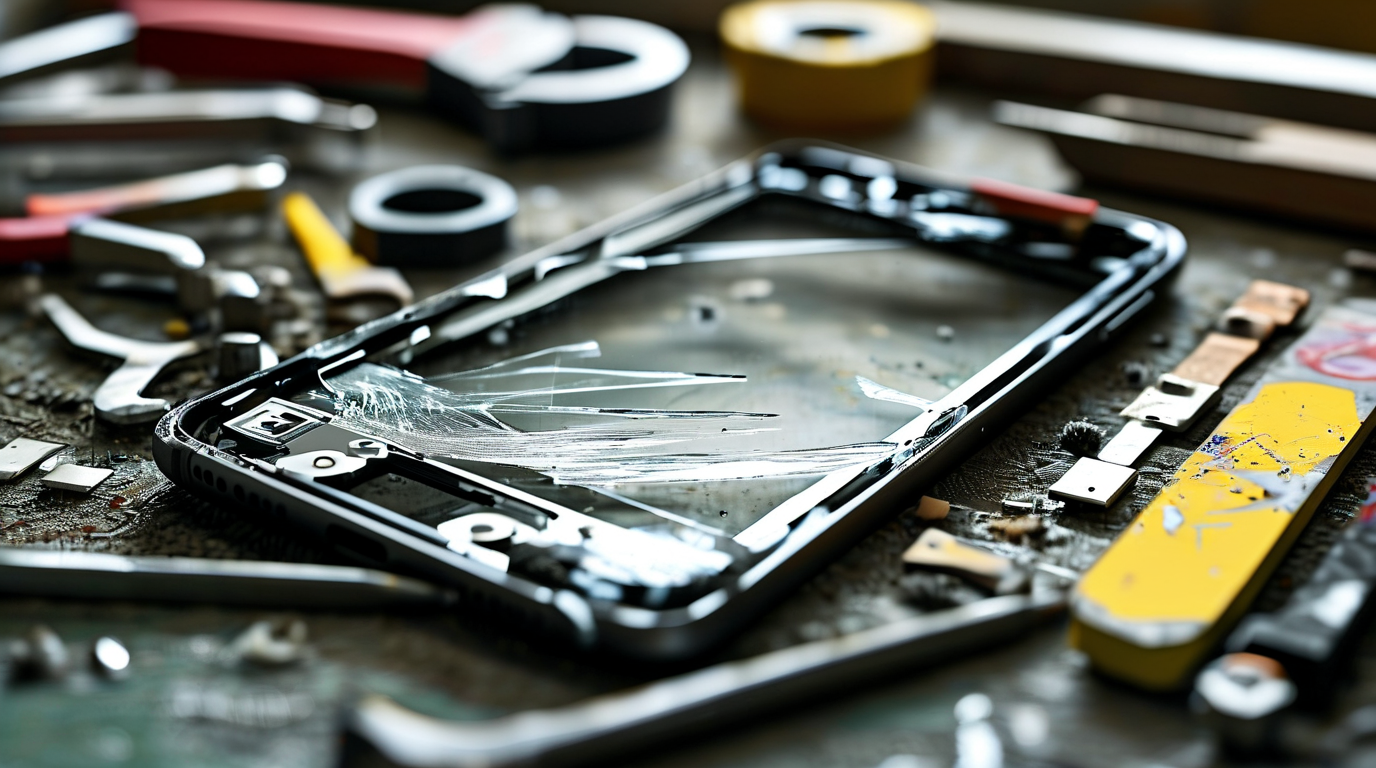
Severe Shattered Glass and Frame Damage Scenarios
Heavy shattered glass isn’t just cosmetic. It may signal impact damage affecting the display assembly and even the bent frame beneath.
• Deep cracks spreading edge to edge
• Loose shards shifting under light pressure
• Noticeable housing damage
Short signs your DIY should end:
-
The cracked screen lifts from one corner.
-
The metal rim feels warped.
-
The device rocks on a flat table.
Structural misalignment compromises structural integrity. Installing a new screen on a twisted frame leads to pressure spots and early failure. Many online screen repair tips skip that reality. Solid repairs demand frame straightening tools most homes simply don’t have.
Persistent Black Screen or Flickering After an Initial Fix
If your fix seemed successful but the black screen returns, dig deeper before repeating random iPhone screen repair tips.
Possible fault chain:
-
Display Level
-
Weak backlight
-
Damaged ribbon cable
-
-
Connection Level
-
Loose connector
-
Pin misalignment
-
-
Board Level
-
Minor logic board short
-
Underlying power issue
-
Diagnostic comparison table:
| Symptom | Likely Component | Risk Level (1–5) | DIY Success Rate (%) |
|---|---|---|---|
| Dim but visible image | Backlight circuit | 4 | 20 |
| Total black display | Logic board | 5 | 10 |
| Screen flickering | Ribbon cable | 3 | 40 |
| Intermittent reboot | Power issue | 5 | 15 |
When numbers dip below 40% DIY success, it’s time to call in pros with proper diagnostic tools. PhoneInsigh reminds readers that repeating fixes on a failing board often multiplies repair costs.
Sometimes the smartest move in your list of iPhone screen repair tips is knowing when to stop.